Getting Started with SignalR
Introduction
SignalR is an open source .NET library enabling real-time broadcasts of data on the web. Typical example applications include chats, stock tickers, and even games. It does this by leveraging and abstracting a number of different technologies, choosing the most suitable transport mechanism based on what the client and server support (since WebSocket support is not yet widespread).
At the time of writing this article, SignalR v2 is the latest implementation, but SignalR v3 is in beta along with ASP .NET 5. I’ll be using VS2015 for this article.
In this article, we’ll cover some really simple examples that will get you up and running fast.
The source code for this article is available on the Gigi Labs BitBucket repository:
Setting up a SignalR Hub
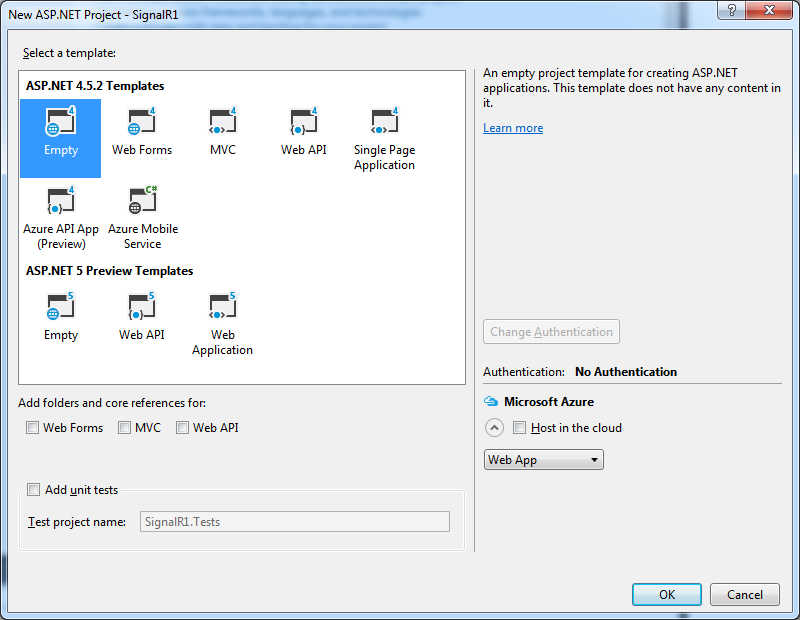
Create a new ASP .NET Web Application, and choose the Empty template. I’m using the one under ASP .NET 4.5.2 since ASP .NET 5 is still a preview at the time of writing this article:
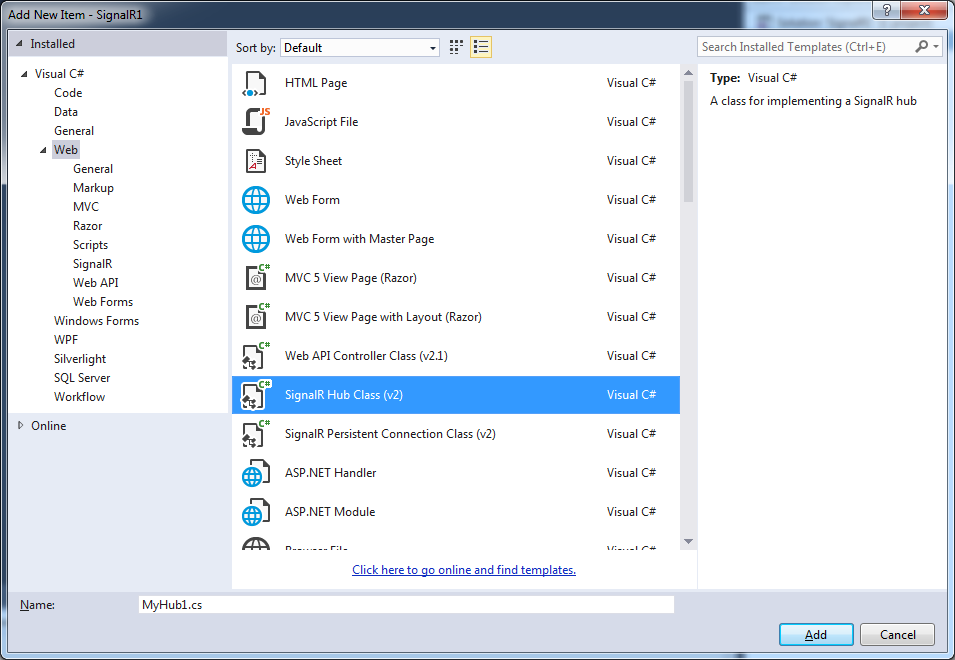
Next, you’ll need to add a SignalR Hub (screenshot below). A hub is a publish/subscribe implementation, and automatically tracks connections. Additionally, it provides ways of calling methods on clients, and selecting which clients to broadcast to – we’ll see how this works shortly.
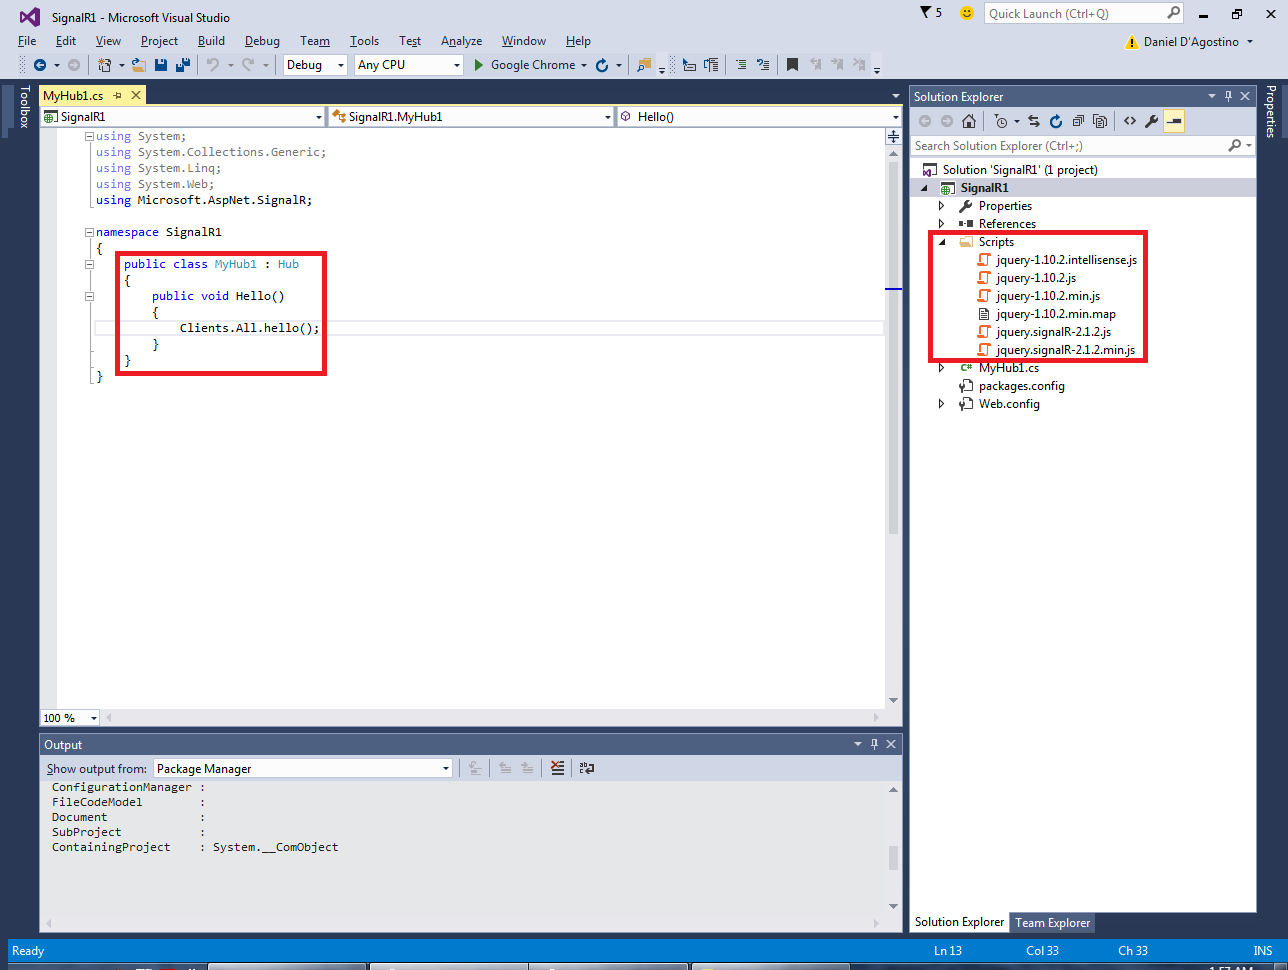
Adding the hub not only adds a class for the hub, but also gives you a basic method and also adds scripts needed for SignalR to run:
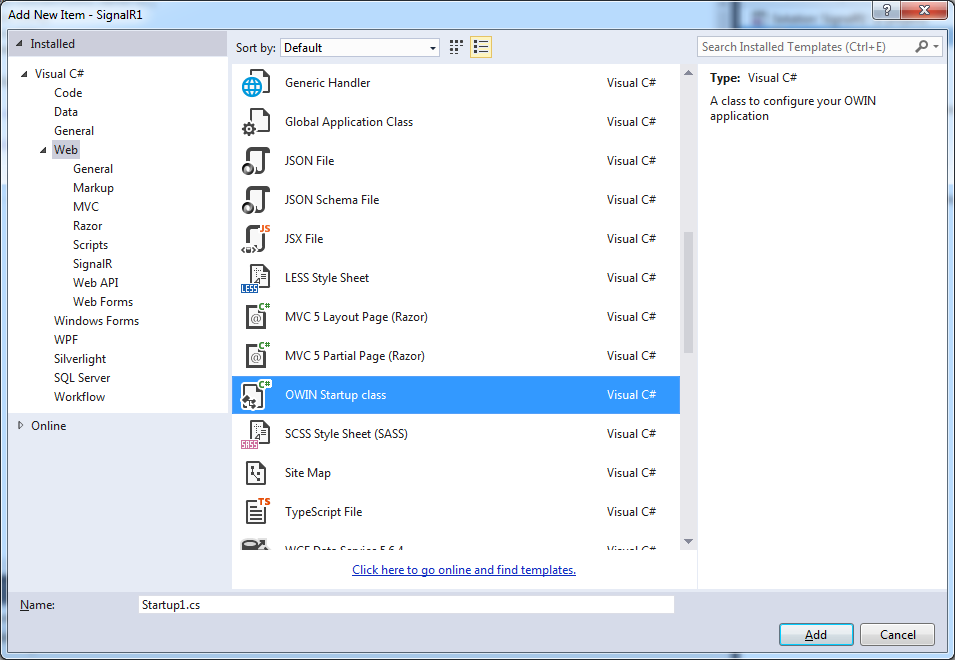
Next, add an OWIN Startup Class:
In this class, just set up SignalR in the Configuration() method:
public void Configuration(IAppBuilder app)
{
app.MapSignalR();
}
Good! Now we’re all set to create our examples. We’ll also need some client code, so add an empty HTML page called index.html. Right click it in Solution Explorer, and select “Set as Start Page” so it will be automatically loaded when you hit F5 to debug.
Basic Hello World Example
When we added our Hub, we got some initial code:
public void Hello()
{
Clients.All.hello();
}
This works as follows: when a client calls this Hello() method on the server (Hub), the hub will call a hello() method on all the connected clients. We can use this example code as-is, but we need to create some client code.
First, add the following structure to index.html:
<!DOCTYPE html>
<html>
<head>
<title>SignalR Example 1</title>
<meta charset="utf-8" />
<script src="Scripts/jquery-1.10.2.min.js"></script>
<script src="Scripts/jquery.signalR-2.1.2.min.js"></script>
<script src="signalr/hubs"></script>
<script type="text/javascript">
$(function () {
// TODO client code goes here
});
</script>
</head>
<body>
<div id="log"></div>
</body>
</html>
There are three things to notice here. First, we have a few references to JavaScript files – the versions need to match the ones in the Scripts folder. The signalr/hubs reference is autogenerated, so you don’t have to worry about it. Secondly, there is a placeholder for Javascript client code which we’ll add next. Finally, we have a “log” div which is where we’ll dump any output received from the server.
For the client code, we first need a reference to the hub itself:
var myHub = $.connection.myHub1;
Next, we add the method on the client that the server will call whenever it needs to broadcast something:
myHub.client.hello = function () {
$("#log").append("Hello <br />");
}
Finally, we add code to initialize the hub itself, and when the initialization is complete, we will call the method on the server. This will in turn cause the client method above to be called:
$.connection.hub.start().done(function () {
myHub.server.hello();
});
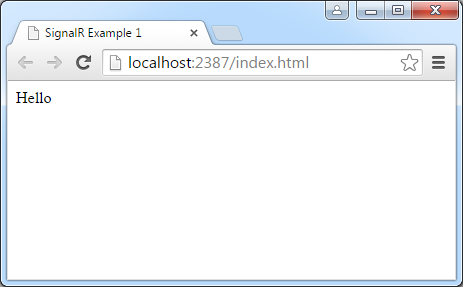
We can now test this and see that we get a Hello response from the server:
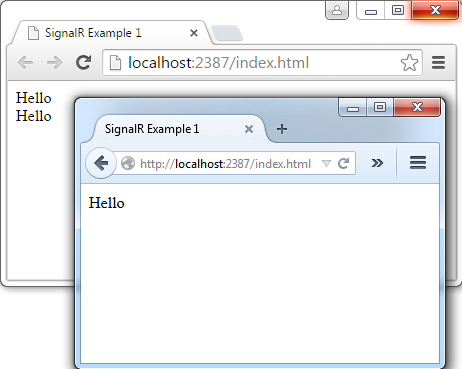
More importantly, if we open a second browser window on the same URL, you’ll notice that both windows will get a new Hello response. That’s because the server/hub is broadcasting to all clients whenever a client calls its Hello() method.
Chat Example
Creating a chat server is not much more complex than this. In fact it’s a typical example of SignalR usage, and you can check out the official tutorial if you like.
For this example, I’ve created a new project with a new Hub:
public class ChatHub : Hub
{
public void Broadcast(string message)
{
Clients.All.receive(Context.ConnectionId, message);
}
}
Some names have changed, but it’s mostly the same as before. One thing you’ll notice that’s different, though, is that Context.ConnectionId. It’s SignalR’s way of giving you the connectionId of the client who called the server/hub method, and I’m using it to distinguish between clients in the chat (as opposed to the official tutorial which prompts for a name).
On the client side, things have also changed slightly. In the HTML body, I’ve added an input field and a send button:
<body>
<input id="message" type="text" />
<button id="send">Send</button>
<div id="log"></div>
</body>
In the client JavaScript code, as before, we’re first getting a reference to the hub (different name this time):
var chatHub = $.connection.chatHub;
Then we add the method that the server will call on the client. Remember, the signature must match what we declared on the hub. In this case we’re passing in connectionId and message, and then displaying them:
chatHub.client.receive = function (connectionId, message) {
$("#log").append("<strong>User " + connectionId
+ " wrote:</strong>" + message + " <br />");
}
Then we add the hub initialization code, together with any actions we want to carry out post-initialization. In this case, we set up a handler for when the user sends a message:
$.connection.hub.start().done(function () {
$("#send").on("click", function () {
var message = $('#message').val();
chatHub.server.broadcast(message);
})
});
There’s nothing keeping us from adding further logic to show when someone joins the chat, for instance. But let’s keep this super-simple.
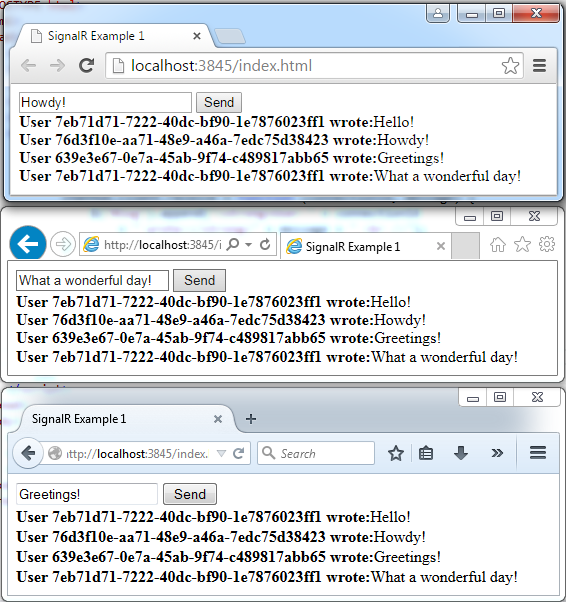
We can now test this:
Stock Ticker Example
The previous examples show broadcasts to clients triggered by the clients themselves. There are many scenarios where it makes sense for the server to spontaneously send updates to clients – a stock ticker is a common example (see official tutorial).
For this example, I’ve again created a new project and a new Hub. Since the server will spontaneously send updates to clients, the hub does not need to expose any methods:
public class StockTickerHub : Hub
{
}
Instead, we’ll have a thread that periodically sends updates to the clients of that hub. Since I have no better place to put this, it’s going in the Startup class:
public class Startup
{
private static Thread stockTickerThread = new Thread(() =>
{
var stockTickerHub = GlobalHost.ConnectionManager.GetHubContext<StockTickerHub>();
while (true)
{
stockTickerHub.Clients.All.update(5);
Thread.Sleep(1000);
}
});
public void Configuration(IAppBuilder app)
{
app.MapSignalR();
stockTickerThread.Start();
}
}
The important thing to notice here is how we’re getting a reference to the hub via GlobalHost.ConnectionManager.GetHubContext<StockTickerHub>(). Since I’m more concerned with demonstrating how to use SignalR than any stock ticker logic, I’m just sending a fixed value of 5 every second.
The client code is practically the same as the first example, except that we don’t need to do anything once the hub is initialized:
<!DOCTYPE html>
<html>
<head>
<title>SignalR Example 3</title>
<meta charset="utf-8" />
<script src="Scripts/jquery-1.10.2.min.js"></script>
<script src="Scripts/jquery.signalR-2.1.2.min.js"></script>
<script src="signalr/hubs"></script>
<script type="text/javascript">
$(function () {
var stockTickerHub = $.connection.stockTickerHub;
stockTickerHub.client.update = function (value) {
$("#log").append(value + "<br />");
}
$.connection.hub.start().done(function () {
});
});
</script>
</head>
<body>
<div id="log"></div>
</body>
</html>
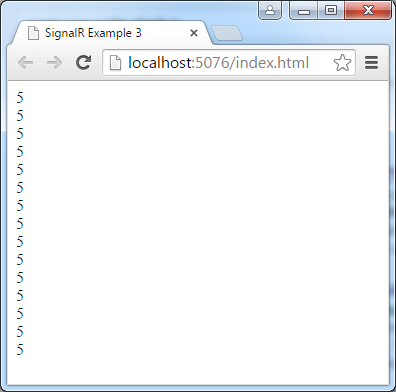
We can now test that the spontaneous updates are received:
Beyond this Article
This article showed basic usage of SignalR. I intentionally kept the examples really simple so that you could get up and running in no time.
Having said that, there’s a lot more to SignalR than we’ve seen here. For instance, we’ve always broadcasted to all clients. SignalR allows you to choose which clients to send to, for example you can send to a specific client, or to clients subscribed to a particular topic. That’s beyond the scope of this article, so if you want to know more about SignalR, check out the multitude of resources on the net.
| Reference: | Getting Started with SignalR from our NCG partner Daniel DAgostino at the Gigi Labs blog. |

