- Oracle VM VirtualBox
- Windows 8 Developer Preview ISO file (32-bit or 64-bit)
- Windows Live ID* (for best testing experience, sign up here if you doesn’t have one)
- Internet Connection*
*Nice to have, for best experience
Besides that, also make sure that your computer have the Virtualization Technology (VT-x/AMD-V) activated in the BIOS. Proceed to the installation if you are ready with everything.
Steps:
1. Get the Oracle VM VirtualBox installed in your PC. (VMWare player is not working but you can use VMWare Workstation 8, released two days ago just for Windows 8.)
2. For setting up the Virtual Machine, use the following settings:

3. Below screenshots show all the settings I used for that Virtual Machine:
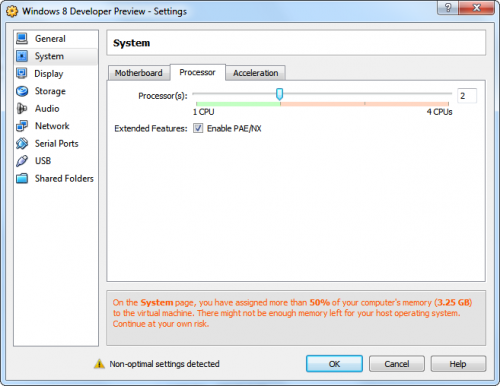
System
It is important to have the chipset to PIIX3 and to check the Enable IO APIC as the installation will fail.


Display

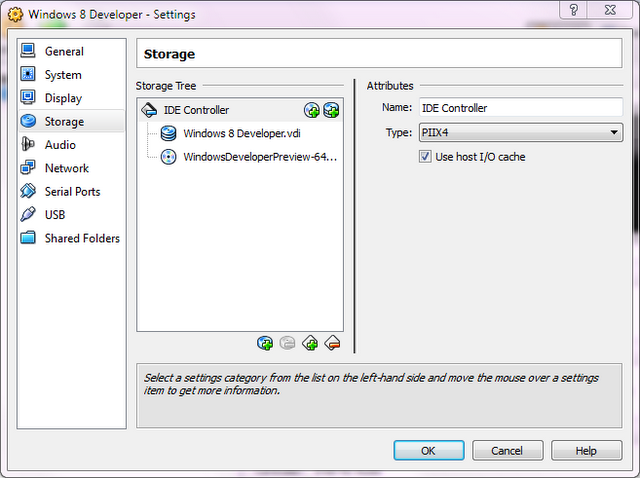
Storage
This part is easy. The .vdi will be mount as an IDE Controller and all you need to do is to right click on the IDE Controller and “Add CD/DVD Device”. There you should select the iso file you have for the Windows 8 Developer Preview. Note that the type of the IDE Controller has to be PIIX4.
Network
4. Once everything is set, start installing Windows 8! The installation process is pretty much similar to the one in Windows 7, so nothing much there. When Windows 8 started up, you will need to enter your Windows Live ID and password.
5. Finally if you have large screen as I do then in order to support your native resolution you will have to type the following on a command prompt window:
First, enter the below text to change the directory:
cd C:\Program Files\Oracle\VirtualBox
Then, enter the line:
VBoxManage setextradata global GUI/MaxGuestResolution any
Lastly, manually enter this line (don’t copy and paste since it can have issue with quotation mark):
VBoxManage setextradata “VM name” “CustomVideoMode1? “WidthxHeightxDepth“
- VM name have to be replaced with your virtual machine name. If your virtual machine is named Windows 8, then it should be “Windows 8?.
- WidthxHeightxDepth have to be replaced with your desired resolution. Say if you want to have it running at your monitor native resolution at 1920x1080x32, then it should be “1920x1080x32”.
Now you can start your virtual machine, click on the “Windows Explorer” icon and then right click -> Screen Resolution and on the “Resolution” drop-down you will see the newly create resolution which will work just fine!
Now you are ready to enjoy the new Microsoft beast and try your coding skills in Javascript!
Good luck!