Load testing using Azure
So everyone wants to have the ultimate system that never breaks can handle ‘all’ the users and shows no strain when doing so. How do you accomplish something like this? Well you could hire developers that know all the best ways to do everything, experts in everything related to configuring applications to run the best that they can on the hardware and software it sits on but what’s the odds of that happening. The other option is to have a bank account that is never ending and throw ‘all’ the hardware at your application to make sure it doesn’t ever have a slow day but then how are you making your money, how do you know when ‘all’ the hardware isn’t enough.
You need to know how much load you can handle and it’s not ideal to figure out this limit when customers are browsing your site. I have read about a lot of stories lately where rather popular and big online sales companies have amazing specials for a limited time only where some of them even doubled there on-premise hardware to hopefully manage with the load that they were expecting they could get.
Load testing is an important part of running any online system because you need to know where your limits are before customers help you find them. Lots of companies for various reasons including legal can’t run their systems in the cloud and so what they usually do is run a lot more hardware than what is required because auto scaling hardware on-premise is not as easy as in the cloud. Load testing could help you figure out how much load you can handle with your current system and then help make hardware purchases for hardware that is required and not for hardware that you think you may need.
One way to load test could be to use the Load Testing tools in Visual Studio but then without using the cloud you can only generate as much traffic as the machine running that test can output. This is where you can benefit from running load tests in Azure because you can choose how much load you want to generate and Azure would spin up as much hardware that is required to meet your requirements, hardware that you would have to additionally purchase if you did this on-premise.
Let’s run through how this works today in Azure.
Linking your VSO account
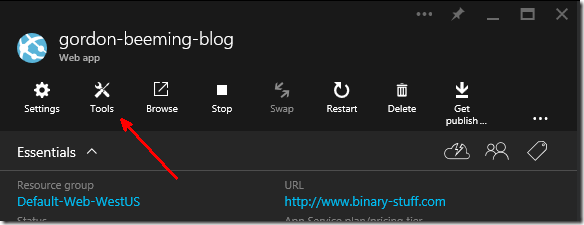
So first off to use this functionality you need to have a Visual Studio Online account. Luckily linking this is very easy and is part of the flow of setting up the load testing. Let’s navigate to a website that we want load test and click on Tools, in my case I’m going to choose my blog.
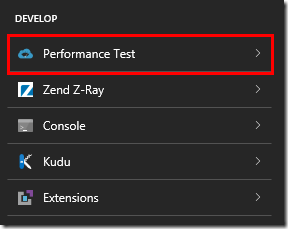
In the develop section you will notice a Performance Test link, click on that link
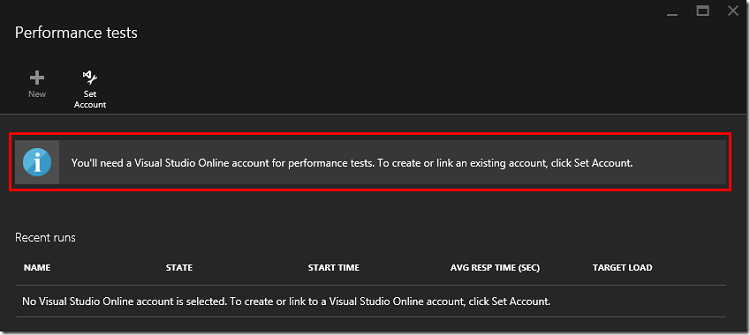
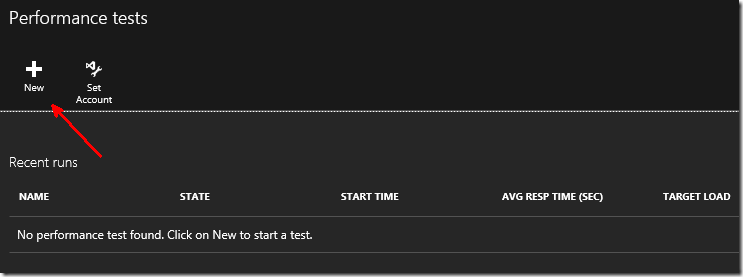
You will now be taken to the Performance tests blade, as you will notice if you haven’t been hear before you need to link a VSO account before you can get started.
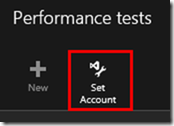
Click on the Set Account button in the toolbar
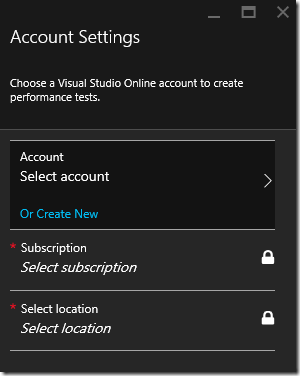
This will open the Account Settings blade, go through this blade as you would any other settings blade selecting an option from each of the options on the blade. Note if you don’t have a VSO account you can also easily create one from here using the Or Create New link
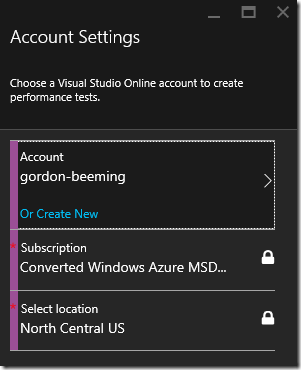
After you have selected your account you will see that the Subscription and location should auto fill for you, the Subscription should come from the current subscription you have selected in the azure portal at the current time. The location will be locked down to North Central US, this is probably because the feature is still in preview. Click ok at the bottom of the blade to make this VSO account be the selected account
This will now show that you have no performance tests yet and you are now able to create your first performance test.
Creating a performance test
At this stage we have our VSO account linked and can now click the New button to get started
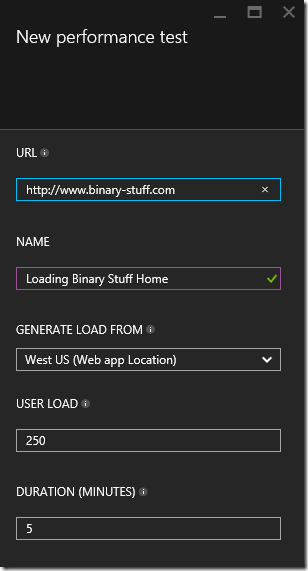
You will now be asked a could things in order to create your load test
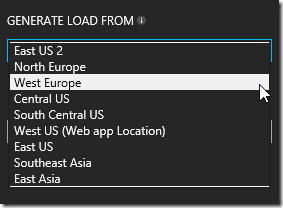
Firstly you need to give the url to the page to put under load and a name for this load test. You then will need to select the location to generate tests from, note you are shown where your app is currently running in the list of locations
You will then need to specify the virtual user load to generate
and then lastly you select the amount of minutes to run your test for
Now all that is left to do is click Run test at the bottom of the blade
Test Results
You should see the following happening, your test should show in the Recent runs as Queued
After a small bit you should see a start time being populated
And then very shortly later you will see the progress change to InProgress and at this point your load test is under way
And then lastly it would switch to Completed and you would see the Average Response Time in seconds
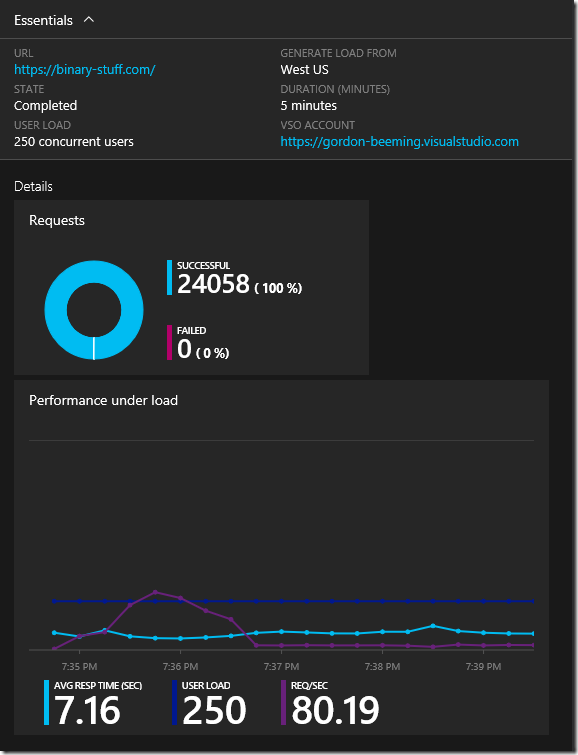
While the test is running you are able to click on the test row and see the results which looks like the image below
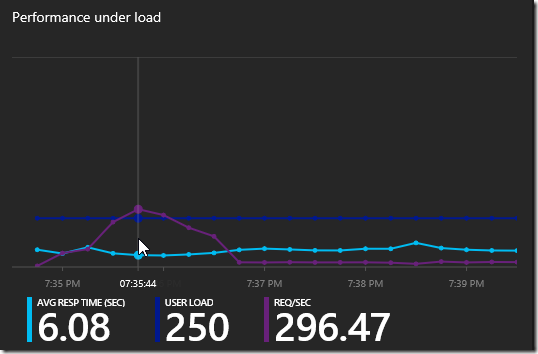
You can hover your mouse over the graph to get information on what the values were at certain times in the test run
As you can see I have some work that I need to do , or increase my scaling in Azure .
More info about load testing in Azure
A nice touch that I haven’t noticed before with other services (and it could have just been a coincidence) is that when I started my load test I received a mail from Microsoft giving me more links and information about this new functionality in Azure. Some links are below
- Get started guide
- Testing your app that is behind the firewall
- Load testing from 13 locations around the world
- Scaling up to 1,000,000 concurrent users
- Getting application server performance counters during load test run
- Integrating into your CI/CD pipeline with Team Foundation Server or Visual Studio Online
- Using REST APIs to integrate load testing into a third party CI/CD framework
Have a good idea for a new feature? Head over to the Visual Studio User Voice site and add it .
| Reference: | Load testing using Azure from our NCG partner Gordon Beeming at the binary-stuff.com blog. |


